Audio Rooms
Learn how to use audio rooms for voice-only discussions, brainstorming, and team calls with integrated features for enhanced collaboration.
Audio rooms are designed for voice-only discussions, making them ideal for brainstorming sessions, team calls, or focused conversations without the distractions of video. These rooms provide a dynamic environment for collaboration, with integrated features to enhance your audio experience.
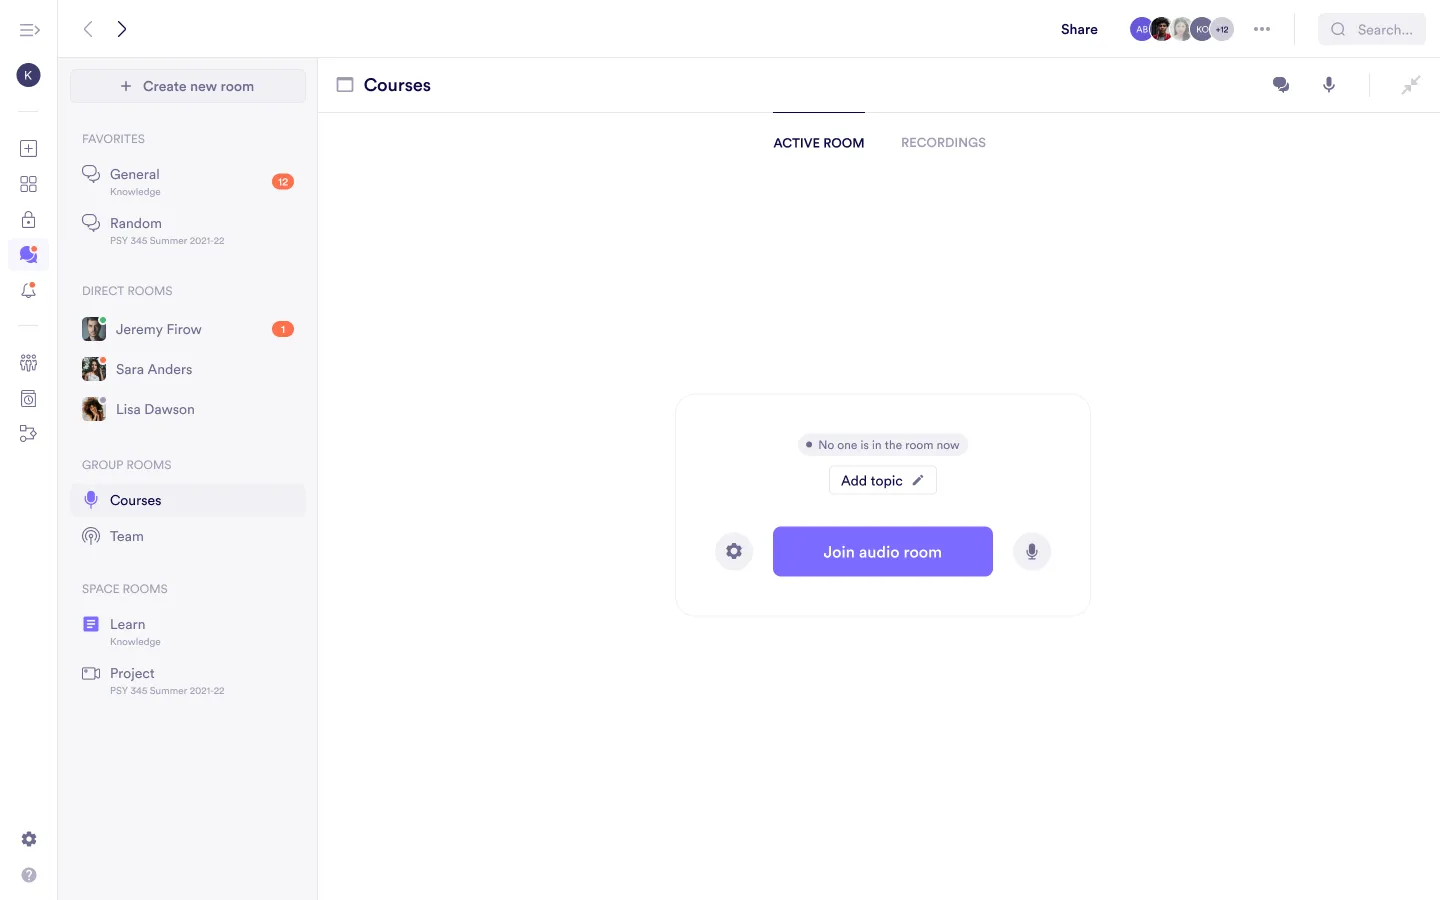
Adding a Topic When Joining
When entering an audio room, you have the option to set a topic for the discussion. This ensures all participants are aligned and focused on the intended subject.
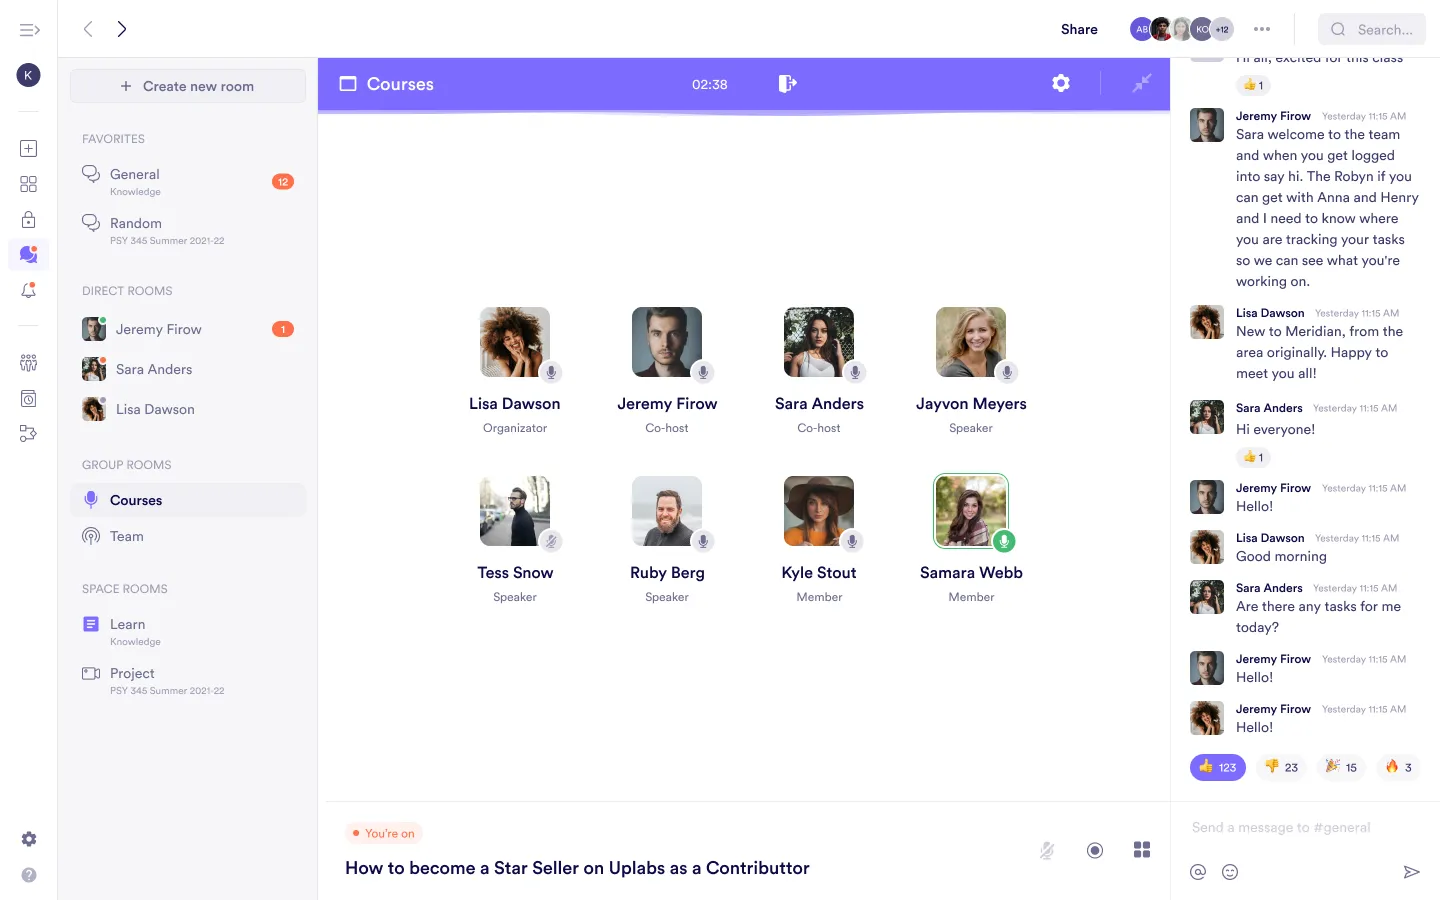
Active Chat in Audio Rooms
Even during a voice-only session, the chat remains active on the side, allowing participants to:
- Discuss topics in text form.
- Comment on points being made in real time.
- Share files or links to enrich the conversation.
Adjusting Voice Settings
For optimal audio quality, click the Gear icon to access voice settings. You can adjust microphone and speaker settings and test them to ensure clarity before or during the session.

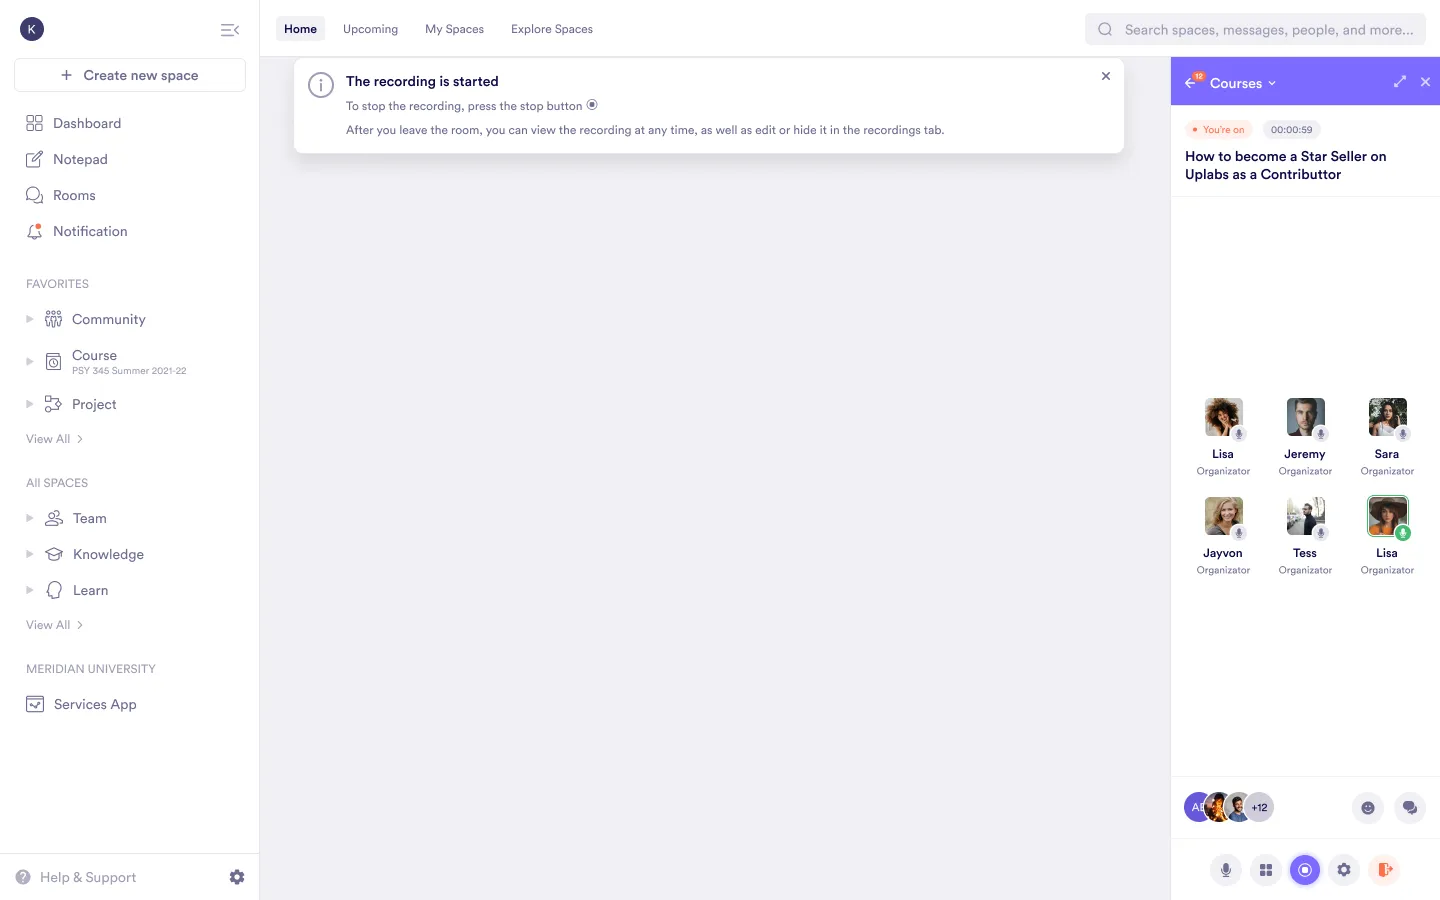
Recording Audio Sessions
To record a session in an audio room, press the Record icon at the bottom of the room. A notification will confirm that the recording has started.
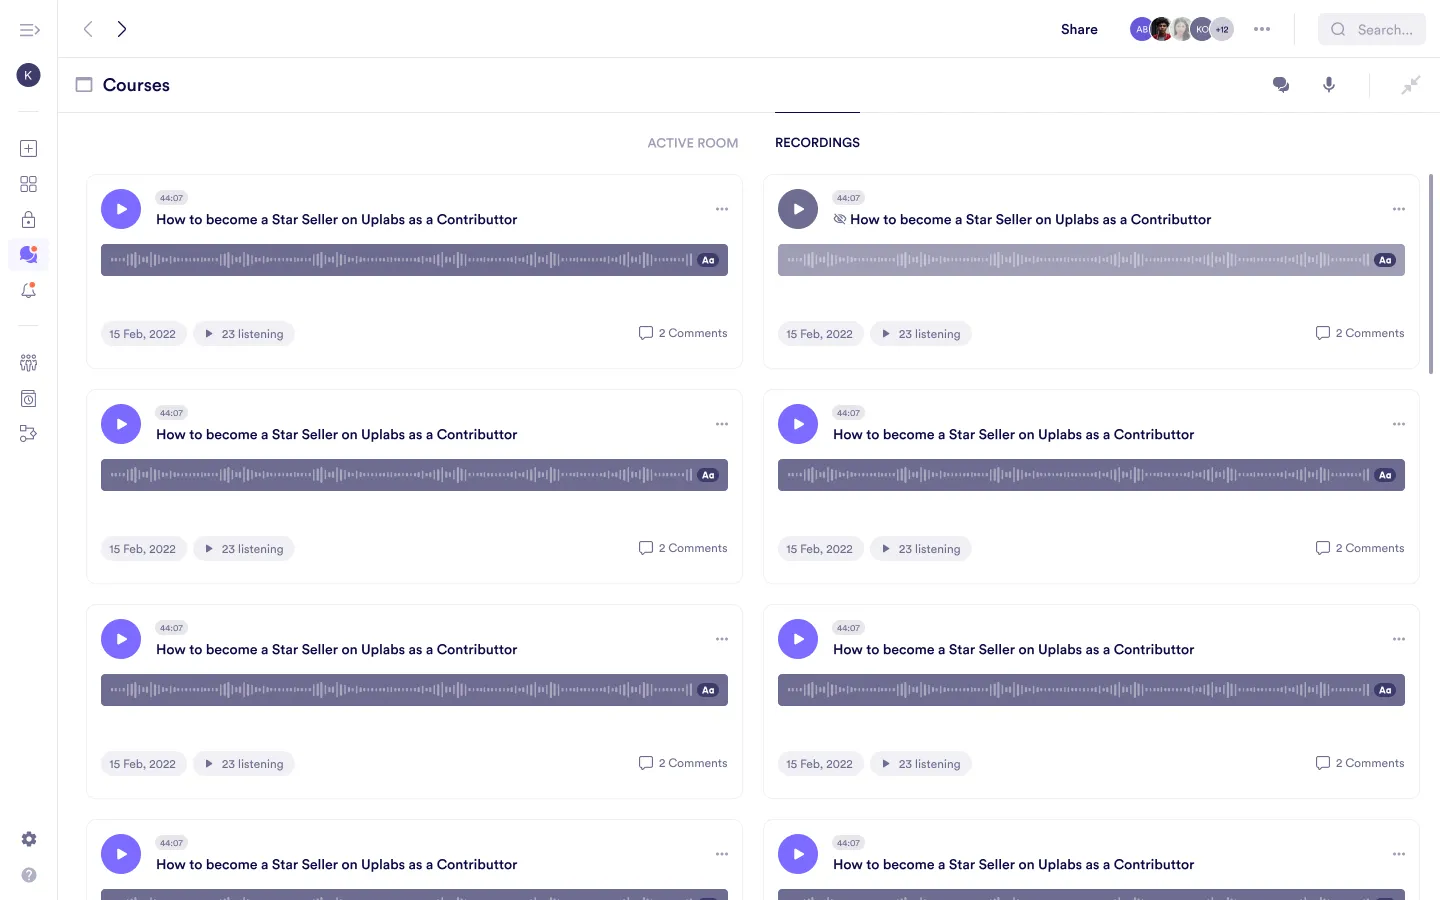
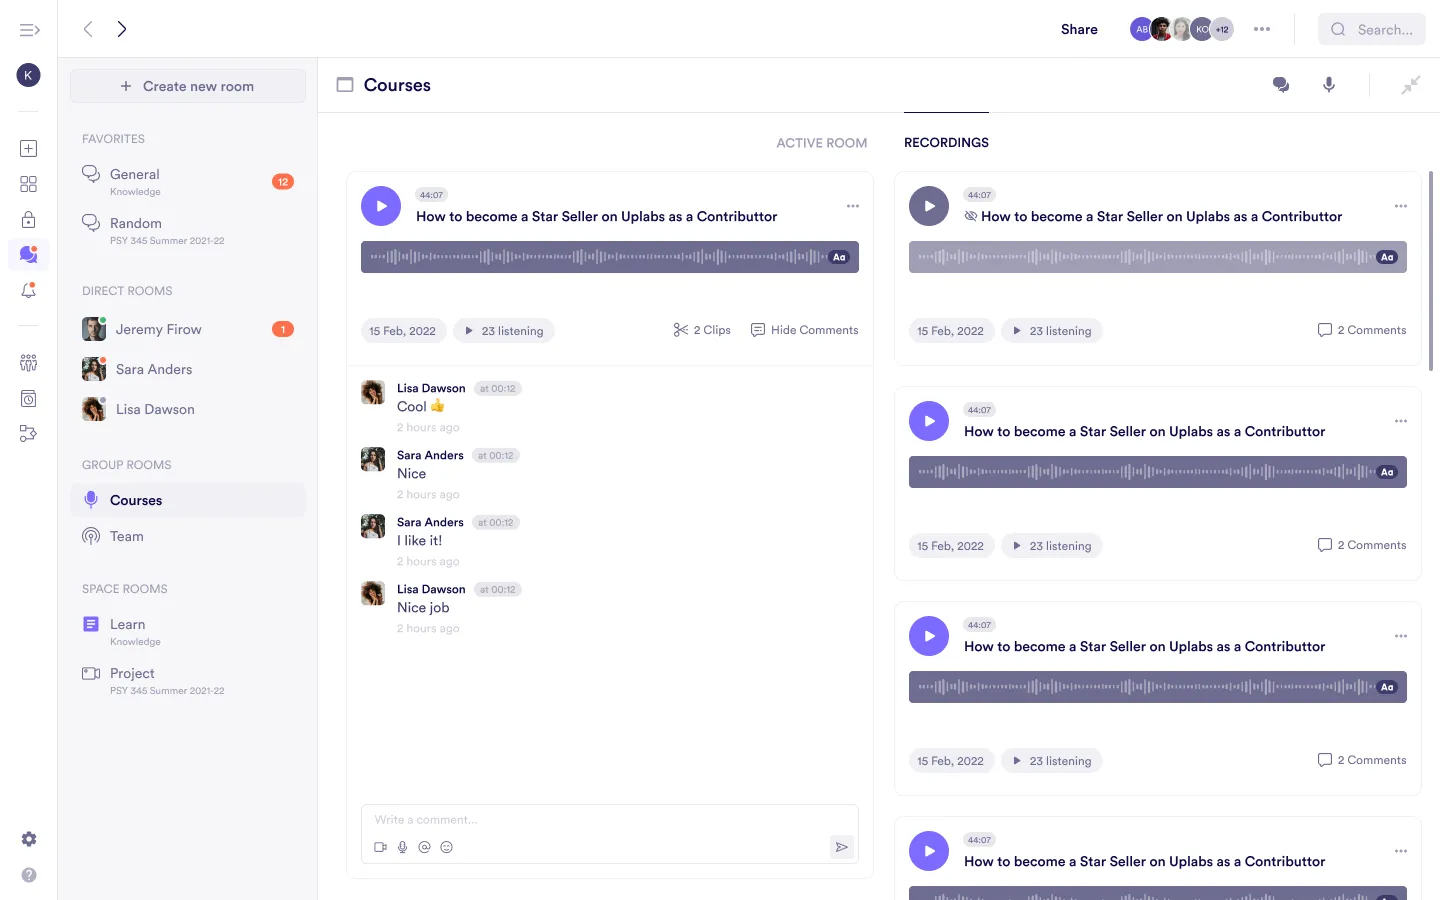
Viewing Recordings
Access recordings by clicking the Recordings tab in the room’s dashboard.
Recordings are listed with their respective dates for easy reference.
Transcripts
View detailed transcripts of recordings while playing them.
Transcripts make it easy to search for specific points in the discussion.

Comments
Click on specific comments in the recordings to see them in context.
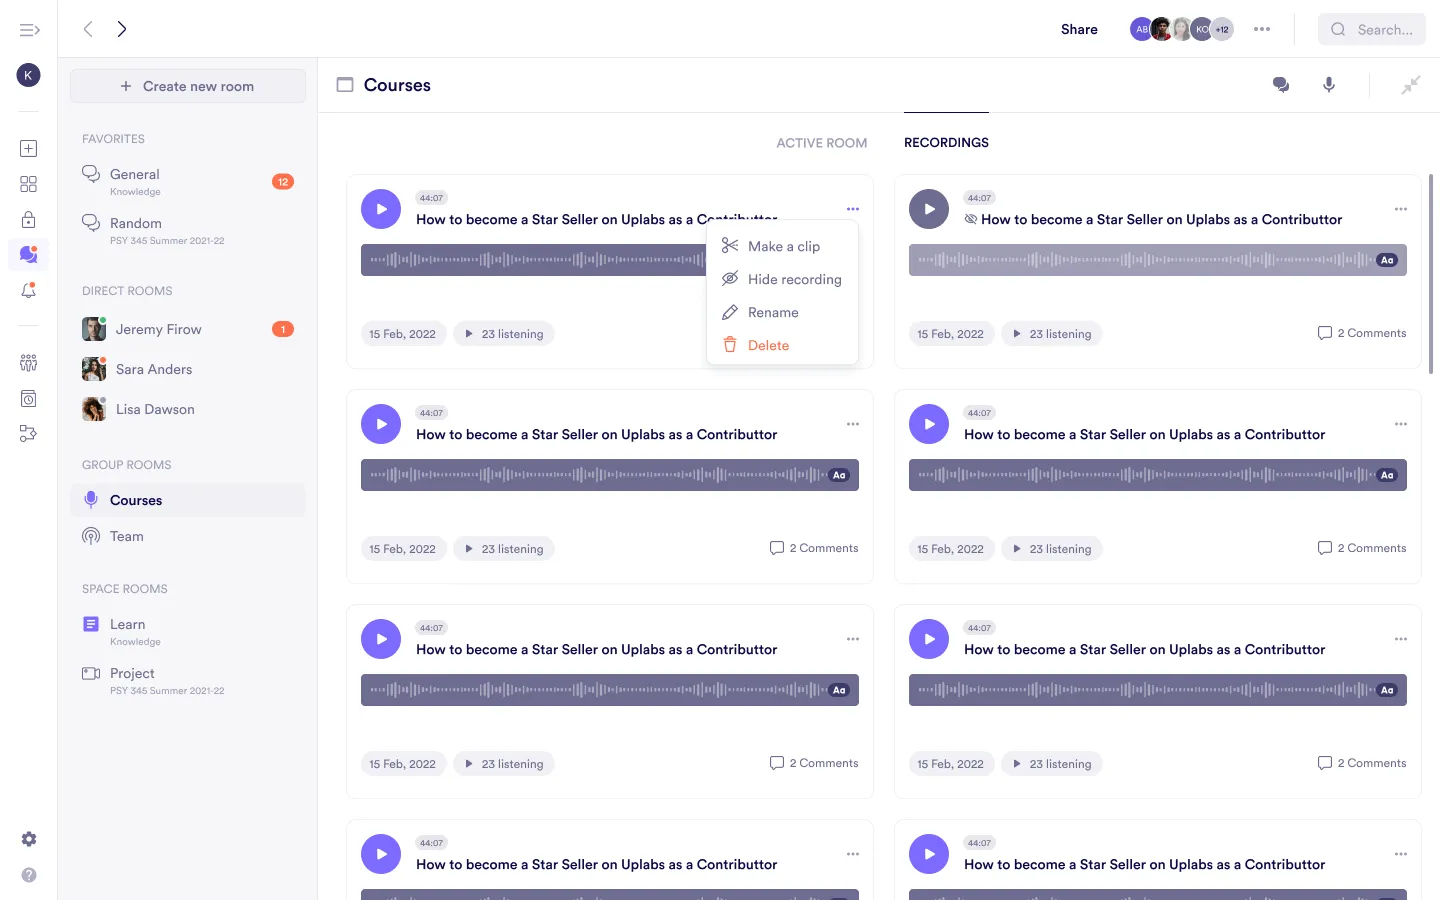
Recording actions
- Make a clip: Trim the recording to your desired length.
- Hide recording: Make the clip invisible to participants without deleting it.
- Rename: Update the recording’s title for clarity.
- Delete: Remove the recording permanently.
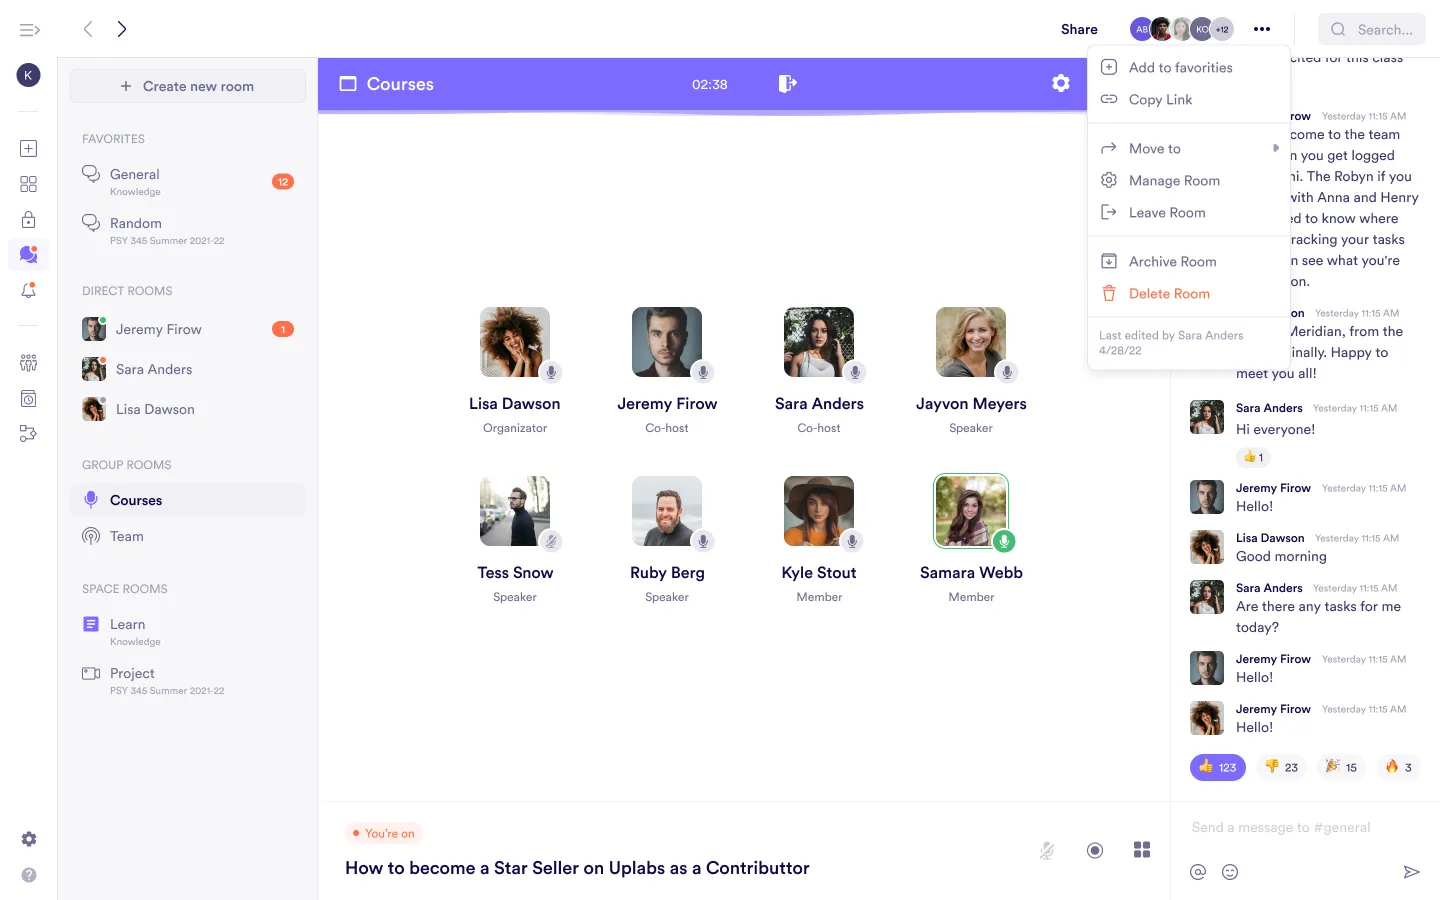
Room settings
To manage an audio room, click the Gear icon and access these options:
- Add to favorites: Pin the room to your sidebar under the Favorites category for quick access.
- Copy link: Share the room’s link with others.
- Manage room:
- Edit the room’s name and topic.
- Manage members.
- Enable or disable automatic recording.
- Hide recordings or the room itself.
- Leave room: Exit the room while keeping it active for others.
- Archive room: Store the room for future reference.
- Delete room: Permanently remove the room and its contents.
Choosing Your Device for the Room
When joining an active audio room, click the Device icon at the bottom-left corner. Select your preferred device (e.g., headset, speaker, or microphone) to join.
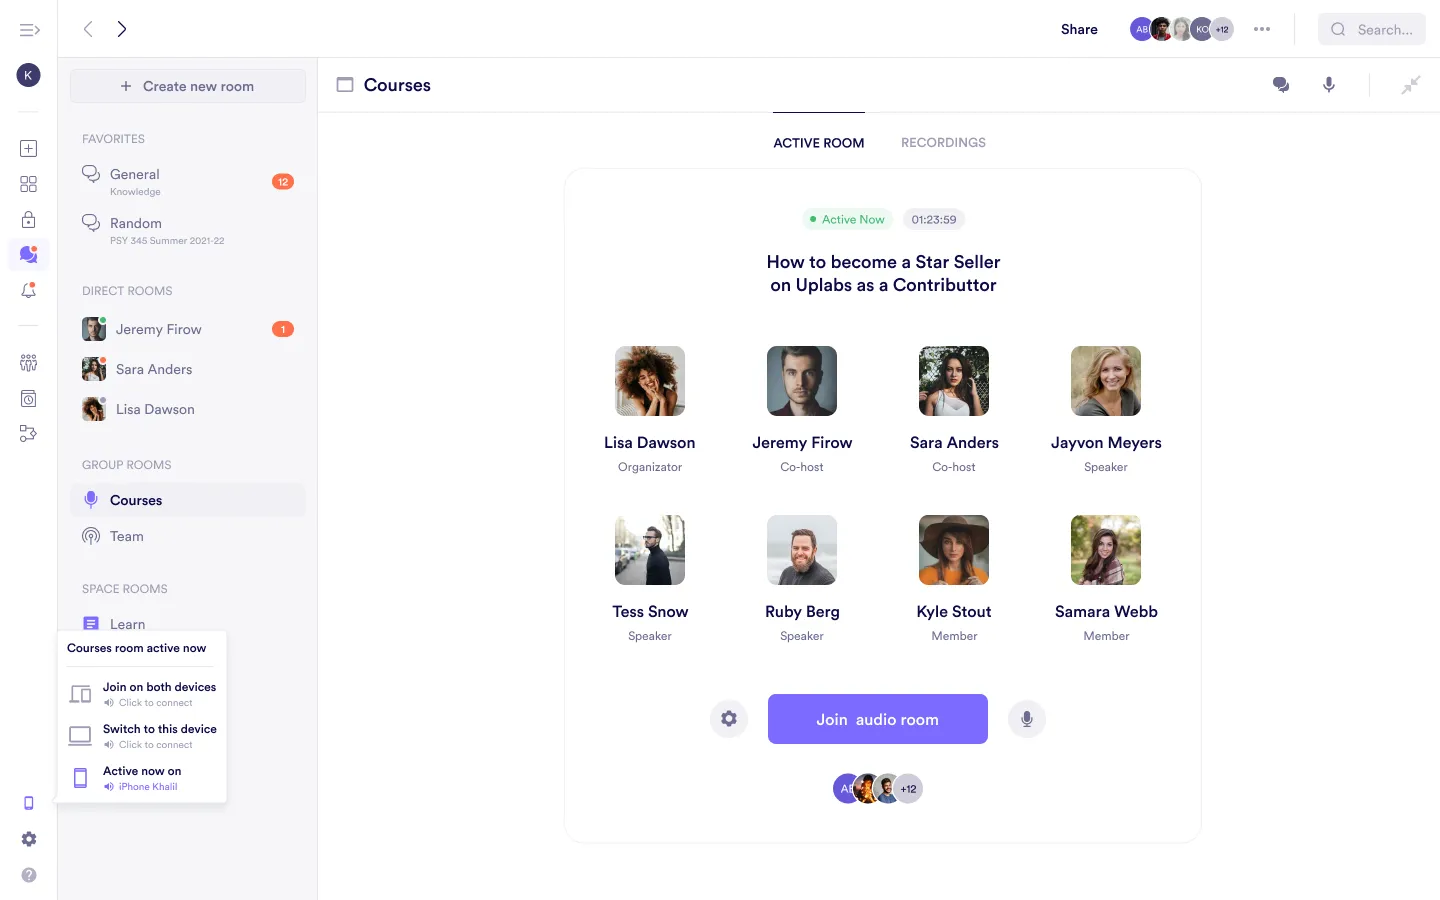
You can only join one room at a time. If you attempt to join another room while already in one, you will leave the current room and switch to the new one.

Pinning Participants
To keep track of an important speaker during a session, you can pin them. Hover over the participant you want to pin and press the Pin icon located at the bottom right of their speaker tile. Pinned participants will remain visible and easily accessible at the top of your view.
Leaving Call
To leave an ongoing call, click Leave call (phone-down icon).
Was this guide helpful?