Breakout Groups
Learn how to split a space audio or video room into smaller breakout groups, assign participants automatically or manually, and bring everyone back together.
Breakout groups let you split a space audio or video room into smaller rooms for focused discussion. As the host, you decide how many groups to create and who goes where—then bring everyone back together when you’re done. This is ideal for workshops, brainstorming sessions, team exercises, or any large meeting that benefits from smaller conversations.
Breakout groups are available in space audio and video rooms on desktop and web. Only the room host can create, edit, and end breakout groups.
Setting up breakout groups
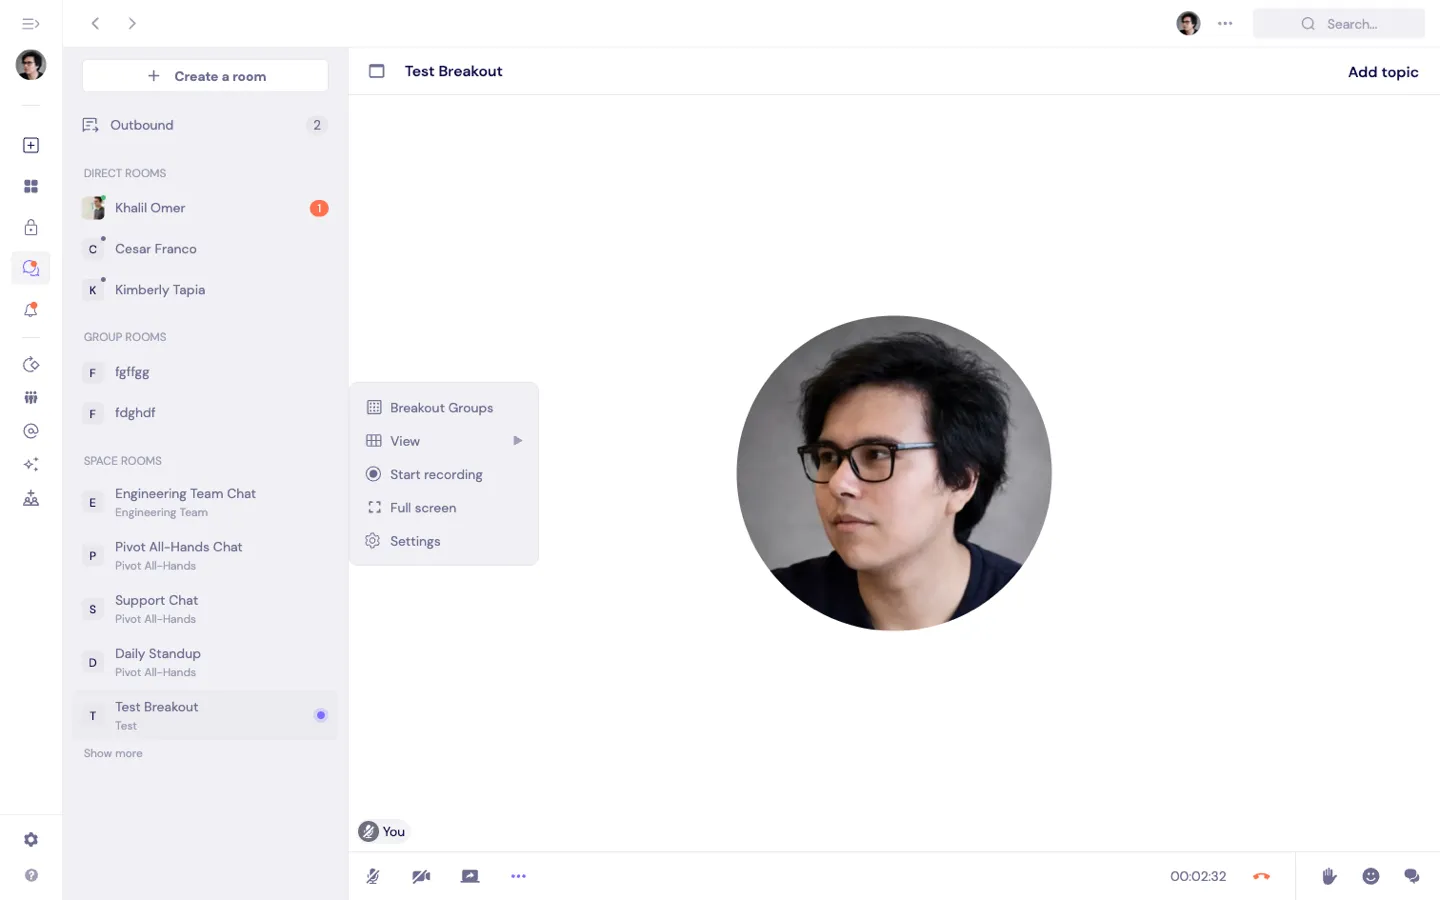
Open Breakout Groups
During an audio or video room in a space, click the three dots (⋯) in the room controls and select Breakout Groups.
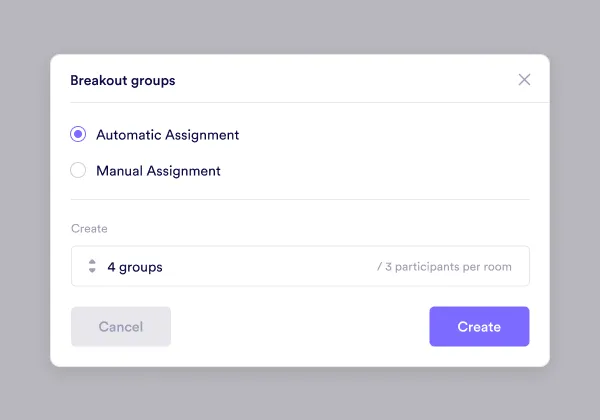
There are two ways to assign participants:
- Automatic assignment: Pivot shuffles participants and spreads them evenly across the groups, with a maximum of 4 participants per group. The dialog shows how many participants will end up in each room.
- Manual assignment: You choose the number of groups and place each participant yourself in the next step.
Choose how participants are assigned
Pick an assignment mode, set the number of groups, and click Create.
Review and adjust the groups
Review the proposed groups before starting them. Click a group’s Chevron to see who’s inside.
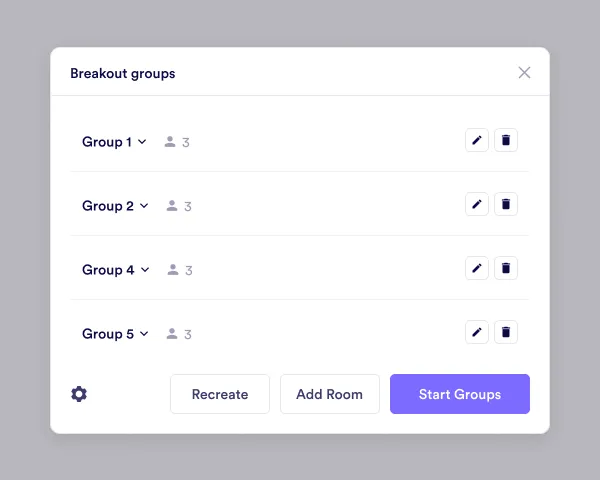
While reviewing, you can:
- Move a participant: In the Members list, click the group button next to a person’s name to move them to that group.
- Add a group: Click Add Room to spread participants across one more group.
- Remove a group: Click the Trash icon on a group. Its members are redistributed across the remaining groups, and you always keep at least one group.
- Start over: Click Recreate to go back to the setup screen.
Start the groups
Click Start groups to create the breakout rooms and notify everyone.
While you’re setting up groups for the first time, participants see a message that the host is editing the breakout groups. If you edit groups after they start, everyone returns to the main room until you click Start groups again.
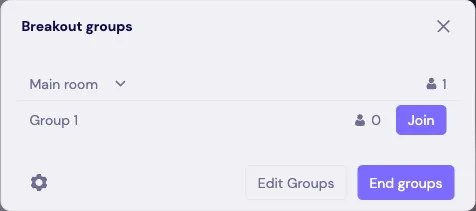
Joining a breakout group
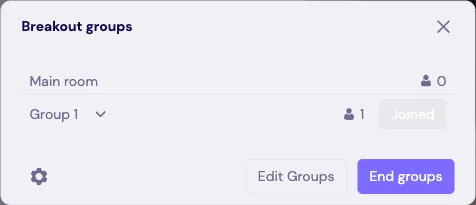
Once the host starts the groups, participants open the Breakout groups panel to see every group and how many people are in each one. Click a group’s Chevron to see who’s inside.
- Click Join next to your assigned group to enter it. The button changes to Joined once you’re in.
- The Main room row shows who is still in the main room.
- Hosts can join any group at any time to check in on the conversation.
Returning to the main room
While you’re in a breakout group, a bar at the bottom of the room shows which group you’re in, along with a Back to the main room button. You can return to the main room at any time and rejoin your group later from the Breakout groups panel.
Editing groups during a session
To rearrange groups after they’ve started, open the Breakout groups panel and click Edit Groups. This brings everyone back to the main room while you adjust the assignments. When you’re happy with the new setup, click Start groups again.
Ending breakout groups
To wrap up, open the Breakout groups panel and click End groups, then confirm. All breakout rooms close and every participant automatically returns to the main room.
If you reload the app or briefly disconnect while breakout groups are running, Pivot restores the session when you rejoin the room—including your group assignment.
Was this guide helpful?